
Modbus and JavaScript
What is Modbus and Why JavaScript?
Modbus is a client/server data communications protocol used in the application layer. It was originally published by Modicon (now Schneider Electric) in 1979 for use with its programmable logic controllers (PLCs). It is an old communication protocol used exclusively to connect various machine parts together. And what does this protocol, mainly used with PLCs, have to do with JavaScript? Well, recently I was contacted to make a user interface to interact with Modbus-connected devices. I didn’t have a lot of time to work on this request, so I started reading on the topic of Modbus and found a JavaScript library that can read from it via network or serial ports. So why not have a JS-based user interface? After testing the library, it worked like a charm.
Implementation
For this project to work, I created an Electron project. Electron is a framework that lets you create desktop apps with web technologies like HTML, CSS, and JavaScript. I chose Electron because I had never used it and thought, well, let’s give it a shot.
Creating an Electron project is easy:
mkdir my-electron-app && cd my-electron-app
npm init
Then, install the Electron package into your app’s devDependencies.
npm install --save-dev electronThen just add this script to the package.json:
{
  "scripts": {
    "start": "electron ."
  }
}
After this is all done, to run Electron just type:
npm startElectron Quick Start: https://www.electronjs.org/docs/latest/tutorial/quick-start
And now for the Modbus library:
npm i modbus-serialTo test it out, use this script provided by the creator of the library:
// create an empty modbus client
const ModbusRTU = require("modbus-serial");
const client = new ModbusRTU();

// open connection to a serial port
// use COM for Windows
client.connectRTUBuffered(
  "/dev/ttyUSB0",
  { baudRate: 9600 },
  write
);

function write() {
  client.setID(1);

  // write the values 0, 0xffff to registers starting at address 5
  // on device number 1.
  client.writeRegisters(5, [0, 0xffff]).then(read);
}

function read() {
  // read the 2 registers starting at address 5
  // on device number 1.
  client.readHoldingRegisters(5, 2).then(console.log);
}
Where the number 1 in client.setID(1) is the device number you want to access. On the device, under the settings, you will be able to change this client ID. In Siemens’ case, this is named Address.
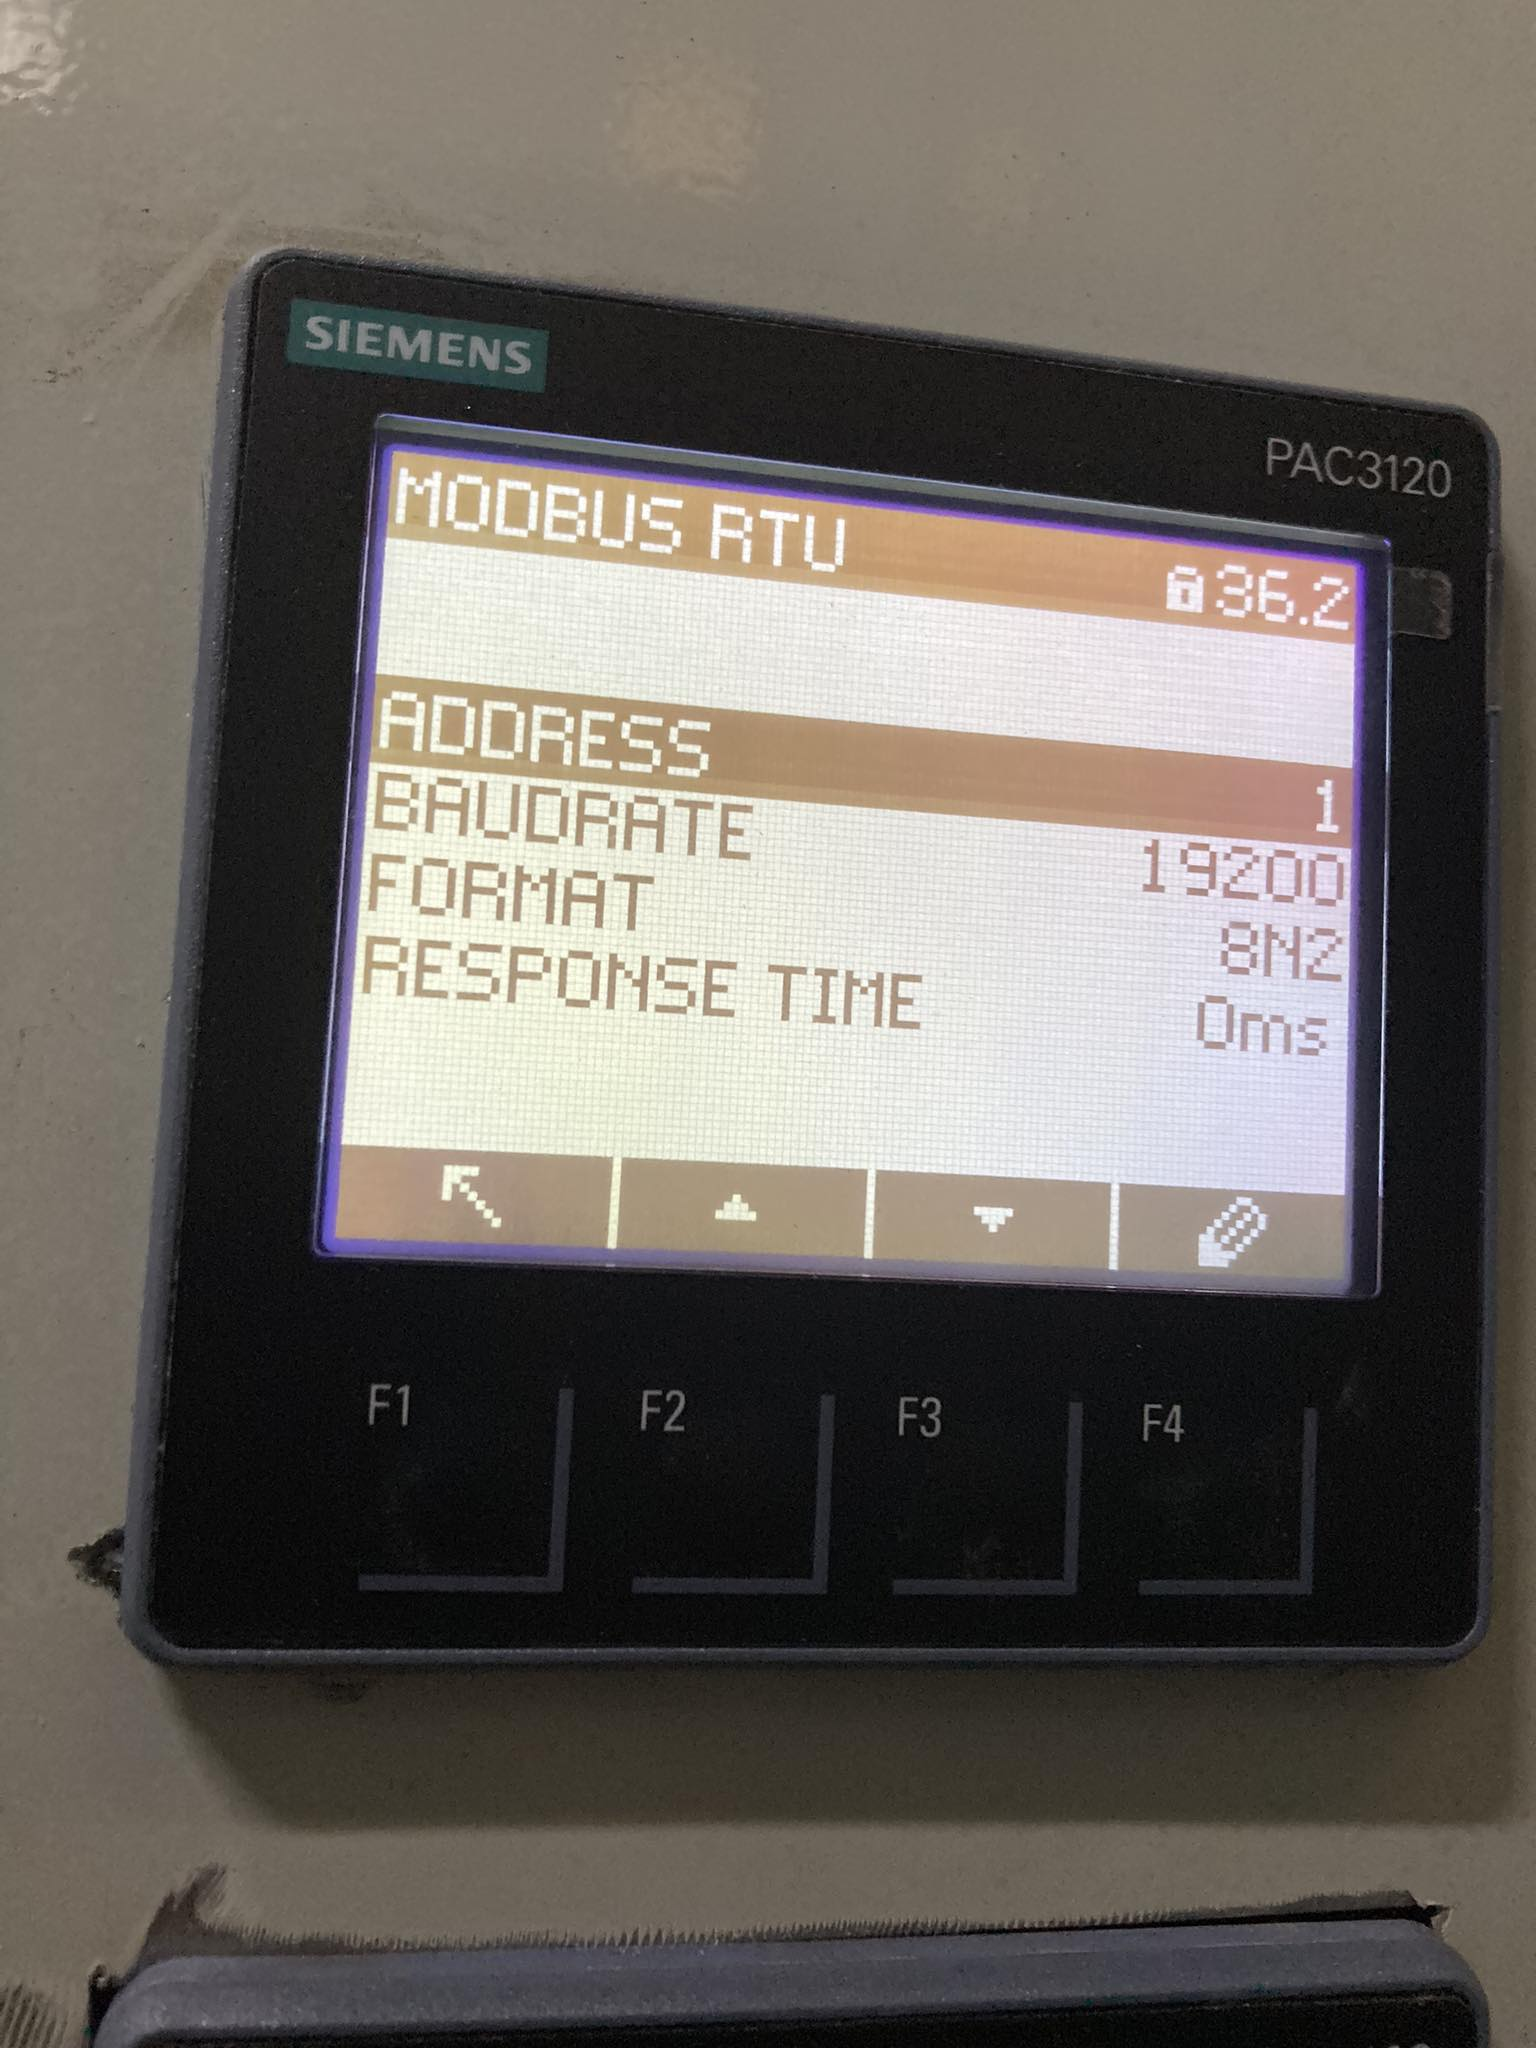
And make sure that the baud rate set in:
client.connectRTUBuffered(
  "/dev/ttyUSB0",
  { baudRate: 9600 },
  write
);
matches the one on the device.
Then in the client.readHoldingRegisters(5, 2) set the first number to the address you want to access on the device and the second parameter to the length which should be specified in the documentation.
After that, you are all set to create a user interface for communication with Modbus. Have fun programming!